

Tender, peanut-buttery rounds with deep cocoa flavor and a crisp chocolate finish — these slice-and-bake cookies come from chilled logs you slice into uniform 1/4″ rounds, then bake until the edges set and the tops lose their glossy sheen.
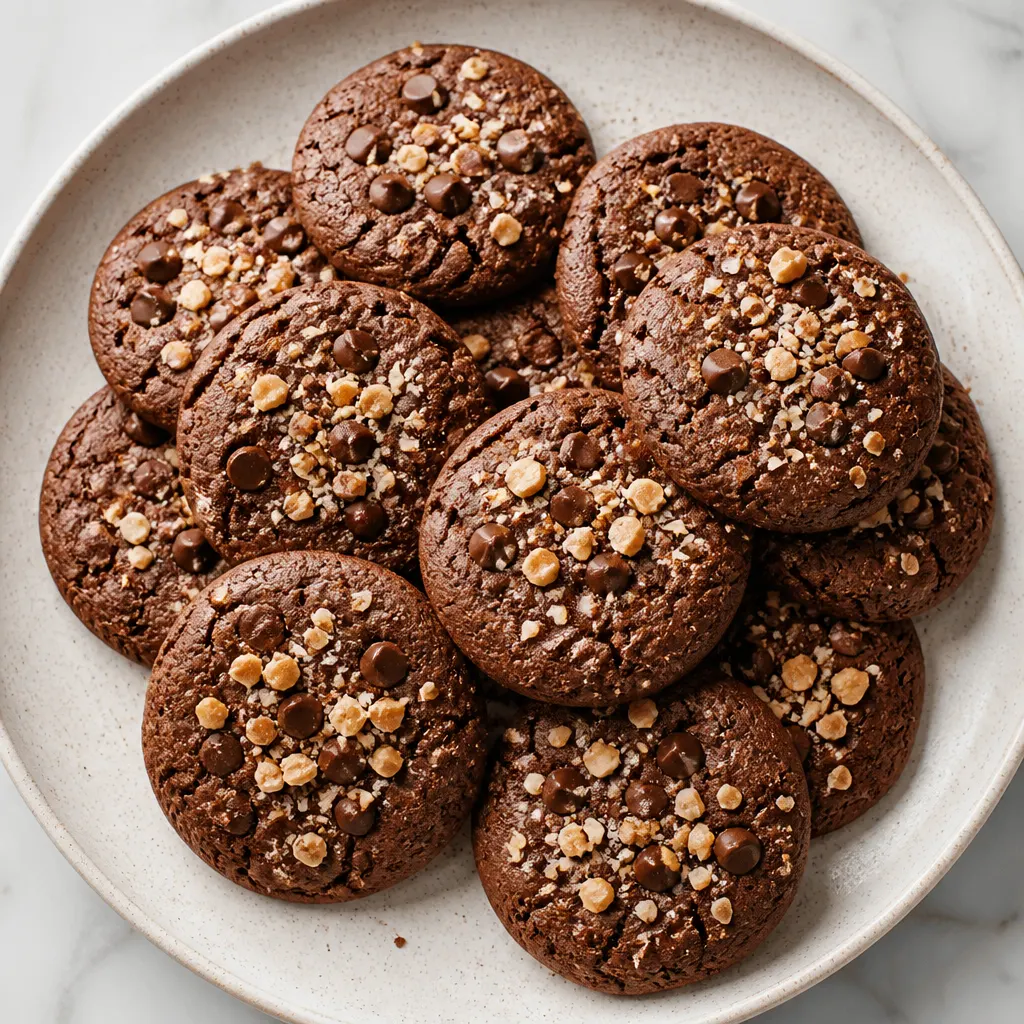
The dough is a true make-ahead: chill 4 hours or overnight (or freeze 1-2 hours if you’re short on time). They’re ideal for cookie trays and parties — dip or drizzle with melted chocolate and finish with chopped peanuts, toffee, toasted coconut, or sprinkles.
Why You’ll Love This Recipe
These cookies are perfect when you want party-ready sweets with minimal last-minute work — prep the dough ahead, slice and bake, then finish with quick melted chocolate. For another crowd-pleasing, make-ahead cookie, try Deep Dish Monster Cookies.
Because the dough is assembled in minutes and chilled ahead, you can bake fresh cookies on demand with very little fuss.
Ingredients You’ll Need
How to Make the Cookies
- Note: this dough requires chilling.
- Mix brown sugar, butter, and peanut butter in a large bowl with a hand mixer until creamy (about 2 minutes). Add eggs and vanilla, continue beating until mixed. Add flour, cocoa, and baking powder and beat on low speed until well mixed.
- Divide the dough in half. Place each half on a sheet of plastic wrap and form into a log. Wrap well and chill until firm, 4 hours or overnight. (This process can be sped up by freezing the dough for 1-2 hours.)
- Preheat oven to 350°F. Line two cookie sheet with parchment paper or a silicone baking mat. Working with one dough log at a time, cut slices 1/4” thick and place 2” apart on baking sheet. Bake for 8-10 minutes, or just until they loose their glossy sheen. Cool on cookie sheets 10 minutes then remove to a rack to cool completely.
- Once cookies are cool, place chocolate chips and oil or shortening in a microwave safe bowl. Heat on 50% power for about 2-3 minutes, stirring every 30 seconds, or until chocolate is melted and smooth.
- You can dip each cookie in the chocolate then dip in the toppings. Or, for a more decorative approach, place the melted chocolate in a sandwich bag and cut off one tip. Drizzle chocolate over cookies and sprinkle with toppings.
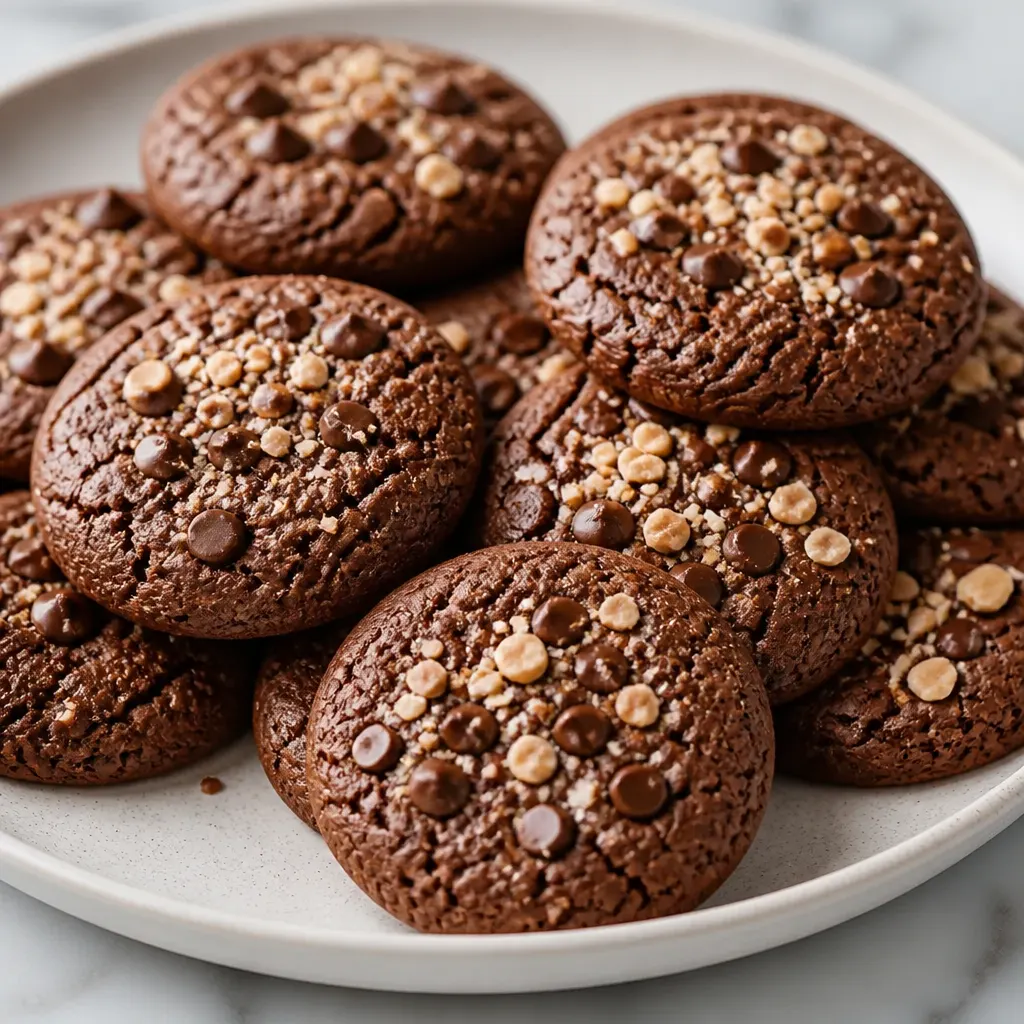
Chill vs Freeze Shortcut
Chilling the logs for 4 hours or overnight gives the best texture, but you can speed things up when needed.
- Chill method: wrap logs tightly and refrigerate 4 hours or overnight until firm all the way through.
- Freeze shortcut: place wrapped logs upright in the freezer for 1-2 hours until solid enough to slice — longer freezing is fine if you remove the log to slice once it thaws slightly.
- If you freeze for long-term storage, thaw the log in the refrigerator before slicing to avoid cracking or excess spreading.
Avoid Flat Sides
A common slice-and-bake problem is a flat side from the log resting on the shelf. One small setup change prevents it.
- Stand wrapped logs upright in a drinking glass or jar so they chill round instead of getting squashed on one side.
- Wrap tightly in plastic so the surface stays smooth — loose wrap allows ice crystals or a ridge to form.
- If a seam forms where the wrap overlaps, smooth it before chilling to keep your slices even.
Chocolate Dip & Toppings
Two easy finishing options make these cookies look and taste special: full dip with tossed toppings, or a decorative drizzle.
- Microwave melting: combine chocolate chips and oil or shortening, heat at 50% power for about 2-3 minutes, stirring every 30 seconds, until smooth.
- Full-dip finish: fully dip cooled cookies into the melted chocolate, then immediately toss or press in chopped peanuts, toffee bits, toasted coconut, or sprinkles so they stick.
- Drizzle finish: spoon melted chocolate into a sandwich bag, snip a tiny corner, and pipe thin lines across cookies for a neat look before sprinkling toppings.
Tips for Success
Doneness cue: Stop baking as soon as the tops lose their glossy sheen — that exact cue prevents over-baking and keeps the cookies tender inside.
Prevent flat sides: Chill your wrapped cookie dough logs upright in drinking glasses so the seam isn’t pressed flat against the shelf; this keeps perfectly round slices.
Peanut butter choice: Use a no-stir creamy peanut butter as directed — its stable oil content helps the dough hold shape and keeps texture consistent.
Save This Recipe

More Recipes
Frequently Asked Questions
Ready to Bake
Prep the dough when you have a free hour, chill or freeze, then slice and bake for fresh cookies whenever you need them — a simple way to have homemade cookies on demand.
Finish with melted chocolate and toppings for a party-ready tray; leftovers keep well at room temperature for up to 4 days or in the freezer for up to 3 months.

Slice and Bake Chocolate Peanut Butter Cookies
Ingredients
- 1 1/2 cups brown sugar packed (300g)
- 1/2 cup unsalted butter softened (113g)
- 1/2 cup creamy peanut butter 133g; only use a no-stir brand
- 2 large eggs
- 1 teaspoon vanilla extract
- 2 cups all-purpose flour 224g
- 1/2 cup unsweetened cocoa powder 40g
- 2 teaspoons baking powder
- 1 cup chocolate chips 170g
- 1 tablespoon vegetable oil or shortening
- 1 cup chopped peanuts toffee bits, toasted coconut, sprinkles, or other similar items for garnish
Instructions
- Note: this dough requires chilling.
- In a large bowl, beat 1 1/2 cups packed brown sugar, 1/2 cup softened unsalted butter, and 1/2 cup creamy peanut butter with a hand mixer until creamy, about 2 minutes. Add 2 large eggs and 1 teaspoon vanilla extract and continue beating until combined.
- Add 2 cups all purpose flour, 1/2 cup unsweetened cocoa powder, and 2 teaspoons baking powder and beat on low speed until just combined.
- Divide the dough in half. Place each half on a sheet of plastic wrap and form into a log, wrap well, and chill until firm, 4 hours or overnight. To speed up, freeze the dough for 1-2 hours.
- Preheat oven to 350°F. Line two cookie sheets with parchment paper or a silicone baking mat. Working with one dough log at a time, cut slices 1/4” thick and place 2” apart on the baking sheet. Bake for 8-10 minutes, or just until they lose their glossy sheen. Cool on the cookie sheets 10 minutes, then transfer to a rack to cool completely.
- Once cookies are cool, place 1 cup chocolate chips and 1 tablespoon vegetable oil or shortening in a microwave-safe bowl. Heat at 50% power for about 2-3 minutes, stirring every 30 seconds, until the chocolate is melted and smooth.
- Dip each cookie in the melted chocolate and then in toppings, or transfer the melted chocolate to a sandwich bag, snip one tip, drizzle over cookies, and sprinkle with toppings.