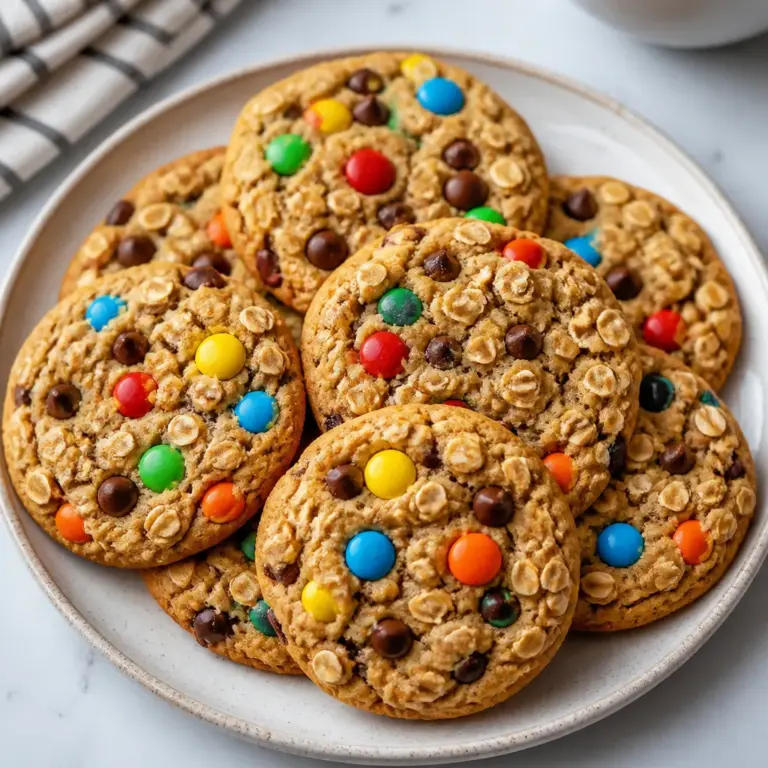

These Halloween Gluten Free Monster Cookies are thick, chewy oatmeal cookies studded with hard-shelled chocolate candies and chopped leftover candy bars — a fun, colorful bite with peanut-butter warmth and pockets of melty chocolate.
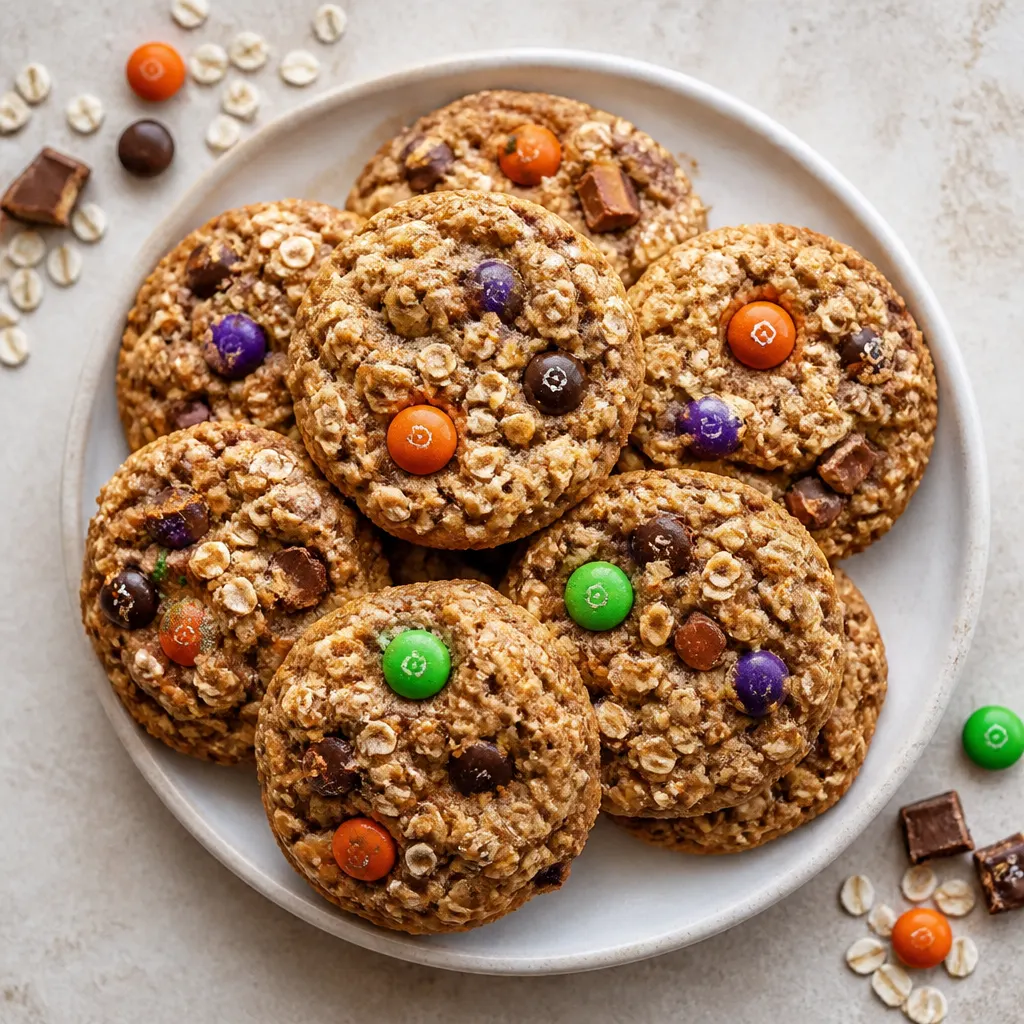
They take about 42 minutes from start to finish and make a great last-minute party treat or classroom bake; scoop, bake at 350°F, and serve while they’re still slightly warm and wonderfully tender.
Why You’ll Love This Recipe
Quick to throw together and endlessly customizable, these cookies turn leftover Halloween candy into a kid-approved treat. If you want a different take on candy-packed cookies, try the thicker, fussier Deep Dish Monster Cookies for a dramatic variation.
Because the recipe is straightforward and forgiving, it’s ideal for busy Halloween prep and for baking with kids — just keep an eye on the oven during the last minutes so the tops set but the centers stay chewy.
Ingredients You’ll Need
How to Make Monster Cookies
- Preheat the oven to 350°F and line a baking sheet with parchment paper so the cookies bake evenly and release cleanly.
- In a mixing bowl whisk together the melted coconut oil, maple syrup, peanut butter, egg, and vanilla extract until the mixture is smooth and uniform.
- Stir in the baking soda, quick cooking oats, hard-shelled chocolate candies, and the chopped candy bars or chocolate chips until the mix-ins are evenly distributed through the dough.
- Let the batter rest at room temperature for 15 minutes — this gives the oats time to hydrate so the cookies hold together and develop a chewy texture.
- Scoop the dough into balls about 1/4 cup in size and place them on the prepared sheet about 1-1/2 inches apart so they have room to spread.
- Bake on the middle rack for 12–14 minutes, watching for the cookies to spread and the tops to set; they should not be deeply browned.
- Remove from the oven and, while still hot, use a dull knife to gently nudge any misshapen cookies into a rounder shape if desired — they’re pliable coming right out of the oven.
- Let the cookies sit on the hot tray for at least 15 minutes before transferring to a cooling rack; they’re very delicate when hot and finish setting as they cool on the warm sheet.
Keep Cookies Chewy
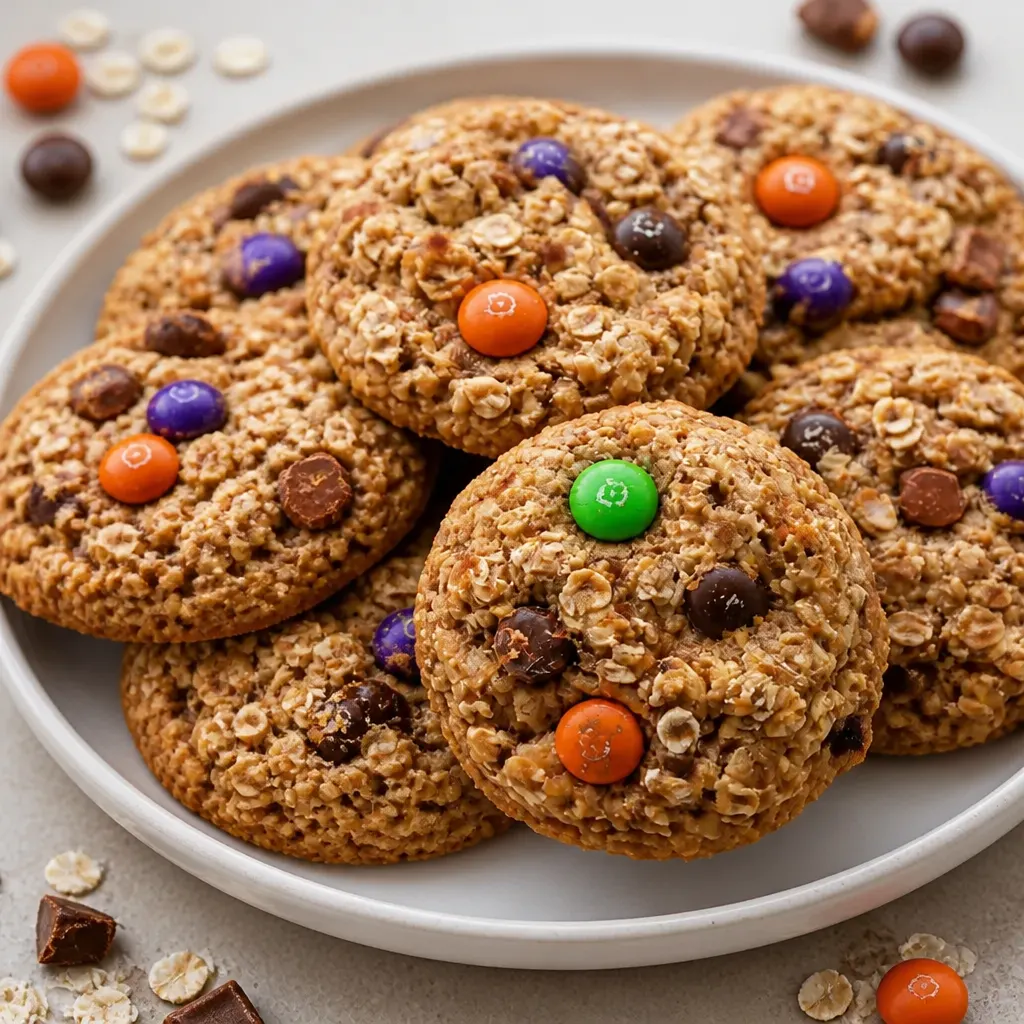
Chewiness is controlled by oat type, hydration time, and bake time. Quick cooking oats plus a 15-minute rest give a tender, chewy center.
Avoid overbaking — pull the cookies when the tops are set but not browned to preserve a soft middle.
- Use quick cooking oats for the softest texture.
- Rest the mixed batter 15 minutes so oats absorb moisture.
- Bake until tops are just set (12–14 minutes) — less time equals chewier cookies.
Use Leftover Candy
This recipe is ideal for converting Halloween haul into baking mix-ins — use hard-shelled candies for color and chopped candy bars for melty pockets.
Cut larger candy bars into small, evenly sized pieces so every cookie gets a good distribution of chocolate and goo.
- Hard-shelled candies keep some crunch and bright color after baking.
- Chop candy bars fine so they don’t overwhelm the cookie structure.
- Mix candies in gently to avoid crushing the shells before baking.
Freeze and Store
Baked cookies freeze and thaw far better than the raw dough, so for party prep bake first, cool completely, then freeze in an airtight container for up to 2 months.
To thaw, bring frozen cookies to room temperature for about an hour; refrigerated storage is fine for 5–7 days but room-temperature freshness lasts up to 3 days.
- Freeze in a single layer, then stack with parchment between layers to prevent sticking.
- Label your container with the freeze date so you can rotate batches.
Tips for Success
Keep it gluten-free: Use certified gluten-free quick cooking oats — regular oats can be cross-contaminated with gluten during processing and will make the recipe unsafe for those avoiding gluten.
Quick oats vs rolled oats: Quick cooking oats absorb liquid faster and make a softer, chewier cookie; swapping in rolled oats will yield a coarser, firmer texture and may require a short resting time adjustment.
Peanut-free swaps: If you need a peanut-free version, swap the peanut butter for sunflower seed butter or soy nut butter — the texture remains similar though the flavor and color will change slightly.
Resting and cooling matter: Resting the batter lets the oats hydrate for chewiness, and leaving the cookies on the hot tray for 15 minutes is essential because they’re fragile while hot and finish setting as they cool.
Save This Recipe

More Recipes
Frequently Asked Questions
Ready to Bake
These gluten-free monster cookies are an easy, crowd-pleasing way to use leftover Halloween candy — keep the bake time short for soft centers and follow the cooling steps to avoid breakage.
Make them for parties, school lunches, or a candy rescue mission — they freeze well and are perfect for handing out to friends and family.
Halloween Gluten Free Monster Cookies
Ingredients
- ? cup melted coconut oil
- 1/2 cup maple syrup
- 3/4 cup no-added sugar natural drippy peanut butter see note
- 1 large egg
- 1 teaspoon pure vanilla extract
- 1/2 teaspoon baking soda
- 2 cups quick cooking oats
- 1/2 cup hard shelled chocolate candies
- 1/2 cup leftover candy bars or chocolate chips chopped
Instructions
- Preheat oven to 350°F and line a baking sheet with parchment paper.
- Add coconut oil, maple syrup, peanut butter, egg, and vanilla extract to a bowl and whisk until fully combined. Stir in the baking soda, quick cooking oats, hard-shelled chocolate candies, and chopped candy bars or chocolate chips until evenly distributed.
- Let the batter sit at room temperature for 15 minutes.
- Scoop the dough into balls about 1/4 cup in size and place them on the prepared baking sheet about 1-1/2 inches apart.
- Bake on the middle rack for 12-14 minutes, until the cookies have spread and the tops are set.
- Remove from the oven and, while still hot, gently push any misshapen cookies into a circular shape using a dull knife, if desired.
- Let the cookies sit on the hot tray for at least 15 minutes before transferring to a cooling rack to finish setting up, as they are very delicate while hot.