
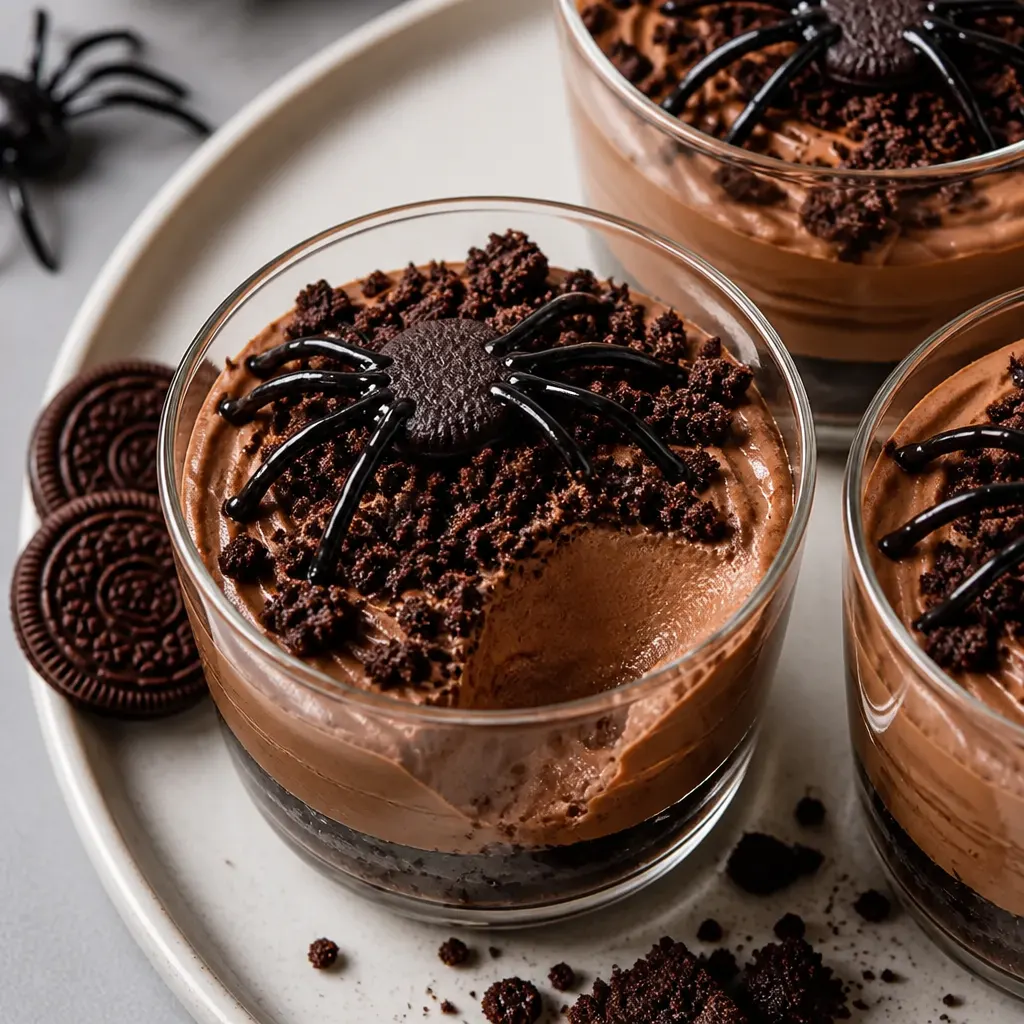
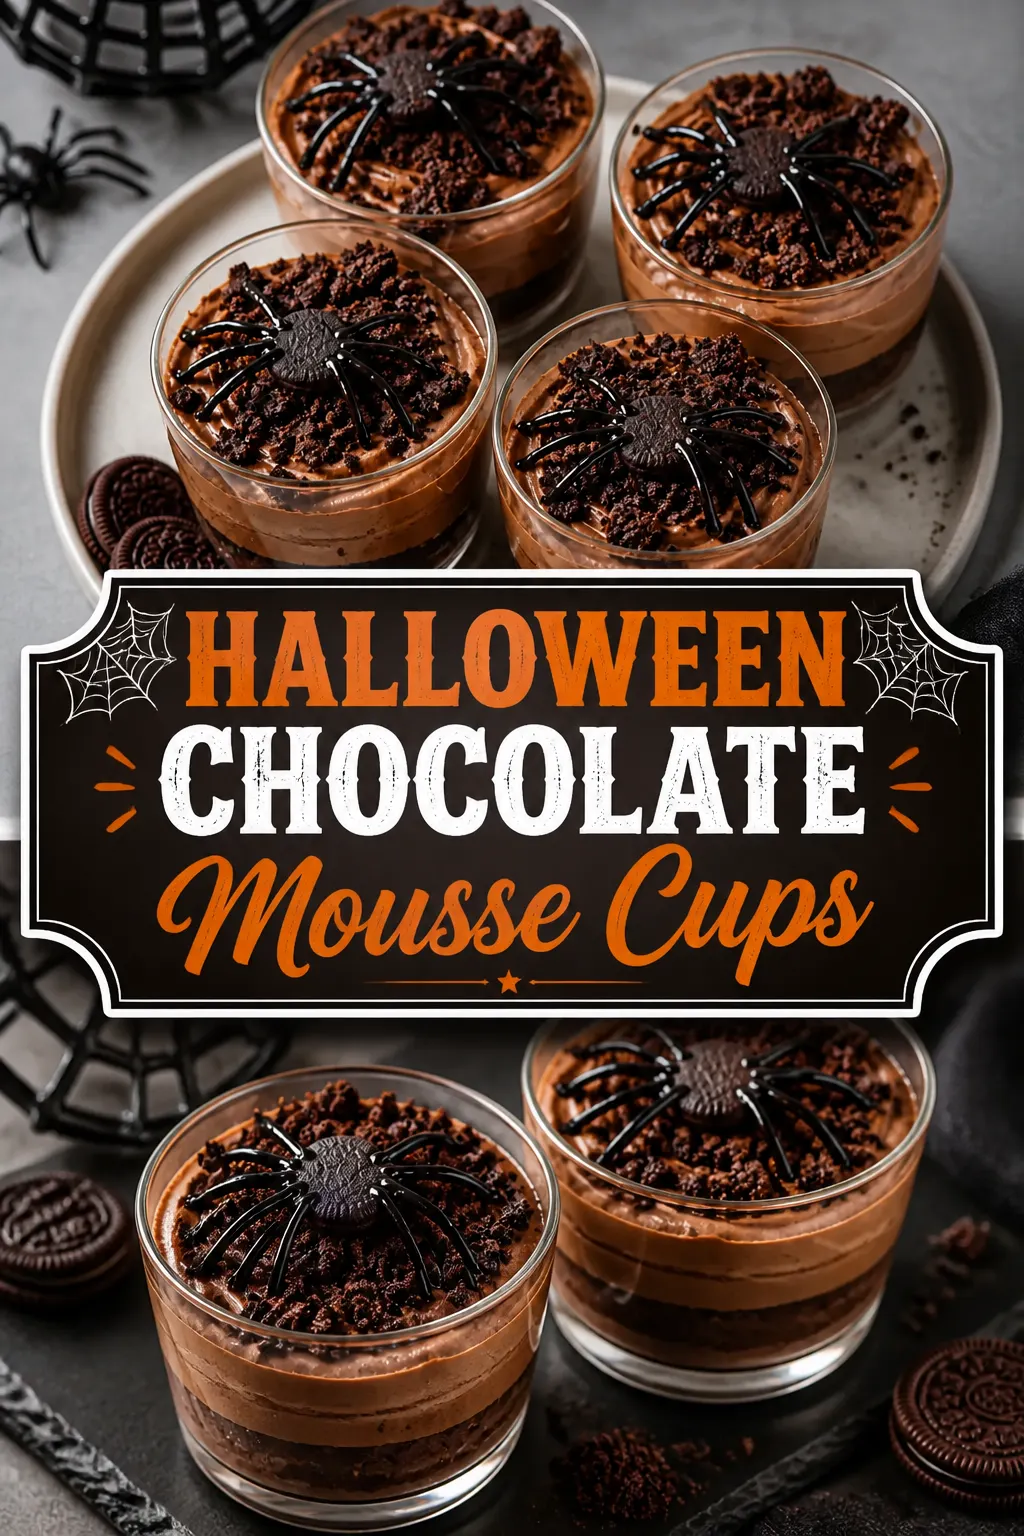
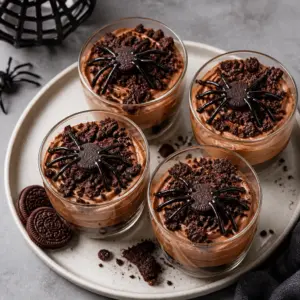
Silky, glossy chocolate mousse meets crunchy cookie crumb in these Halloween Chocolate Mousse Cups: 400 g melted chocolate folded into airy whipped 300 g heavy cream, finished with crumbled chocolate cookies and a cookie “gravestone” for spooky flair.
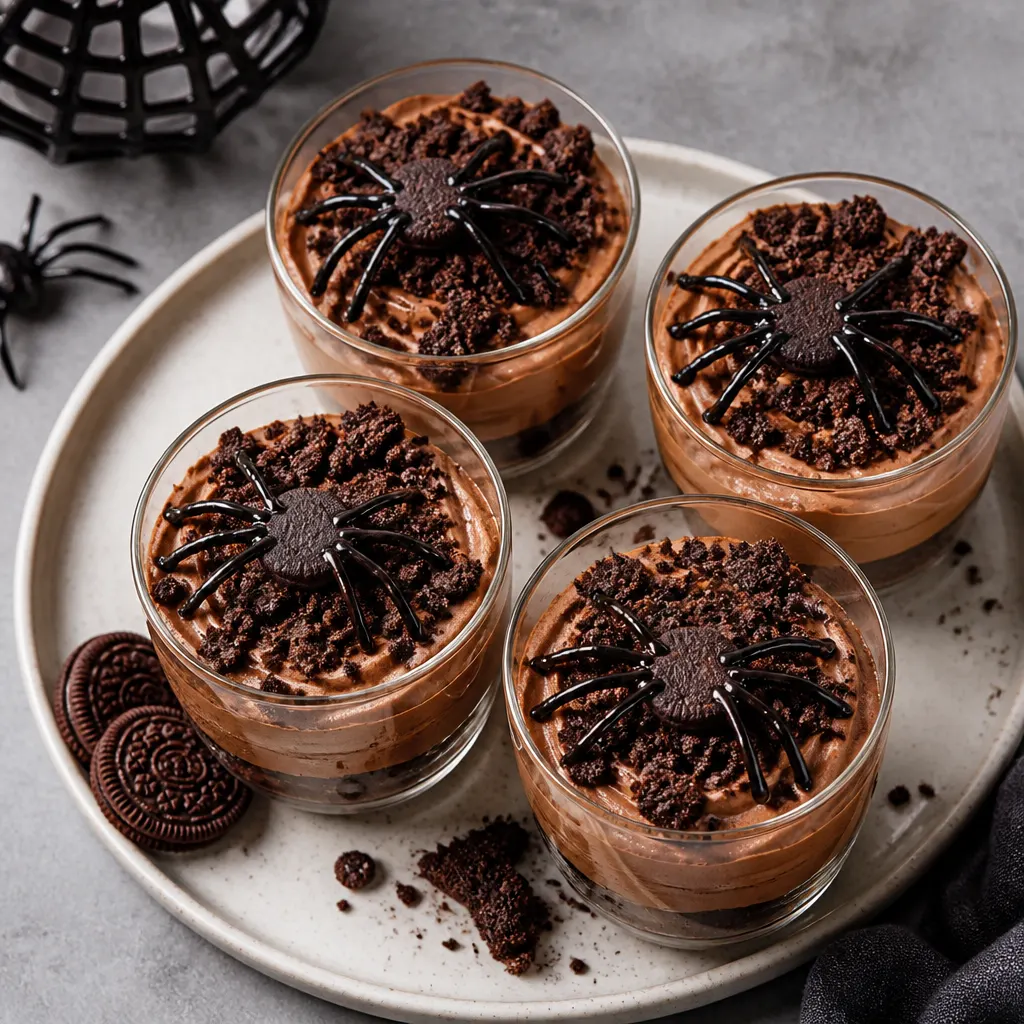
They’re a no‑bake party-perfect dessert that comes together in roughly 10 minutes—pipe into small glasses for easy serving. For another quick Halloween treat, try Oreo-Stuffed Halloween Cupcakes.
Why You’ll Love This Recipe
A few simple ingredients deliver a restaurant-style mousse without baking or complicated tempering. It’s fast to assemble, easy to make ahead, and impressive on a Halloween table.
This recipe is built for quick assembly and dramatic presentation—pipe the mousse ahead, chill, then add crumb topping and gravestones right before guests arrive for the best texture.
Ingredients You’ll Need
How to Make the Mousse
- Beat the heavy cream: In a mixing bowl, beat 300 g heavy cream at medium-high speed until it holds soft-to-medium peaks. You want whipped cream that’s billowy but still pliable—stop before it becomes grainy.
- Cool the chocolate: Allow the 400 g melted chocolate to cool until it is warm to the touch but not hot (about 1–2 minutes at room temperature). If the chocolate is too hot it will melt the whipped cream and the mixture can split.
- Fold gently: Pour the slightly cooled melted chocolate over the whipped cream and use a spatula to fold once or twice to start, then continue folding gently in a figure-eight motion until the mixture is uniform and glossy—avoid over-folding, which deflates the mousse.
- Fill the cups: Spoon the mousse into a piping bag (or a sturdy zip-top bag with a corner snipped) and pipe into serving glasses for tidy portions, or spoon directly if you prefer a rustic look.
- Top and decorate: Sprinkle each cup with crumbled chocolate cookies for crunch. Use whole cookies decorated with black pastry gel as upright ‘gravestones’ and insert one into each mousse cup just before serving so they stay crisp.
Prevent Chocolate Splitting
Chocolate splitting happens when hot chocolate melts the whipped cream and the mixture separates. Prevent this by cooling the melted chocolate to warm-to-the-touch before combining.
If you see the mixture starting to look streaky or runny, stop folding and chill the bowl for 5–10 minutes, then fold gently again a few times to reincorporate.
- Let melted chocolate rest 1–2 minutes off heat until warm, not hot.
- Add the chocolate in two additions—stir a small portion into the cream to loosen, then fold in the rest.
- Fold slowly with a spatula using wide, gentle strokes to preserve air.
Piping & Filling Tips
Piping gives a clean, professional finish and helps portion evenly. A large round tip (about 12–16 mm) creates classic domes; a star tip gives pretty ridges.
If you prefer spooning, use a small ice-cream scoop or two spoons to achieve uniform dollops.
- For neat results: hold the piping bag vertically and squeeze from the top, lifting slightly as you finish each swirl.
- Fill glasses about 3/4 full to leave space for crumbs and the gravestone.
Easy Gravestone Decorations
Decorate whole cookies with black pastry gel to write names or draw simple tombstone shapes. Let the gel set on the cookie surface for a minute before inserting into the mousse.
For variety, use different cookie shapes or sandwich cookies to create taller gravestones.
- Write short words like ‘RIP’ or draw a cross for instant spooky effect.
- Use a toothpick to tidy gel lines if needed, then allow the gel to dry briefly before placing on the mousse.
Tips for Success
What ‘slightly cooled’ means: The melted chocolate should be warm to the touch but not hot—test with a clean finger (briefly) or touch the bowl’s exterior. If it feels hot, let it sit 30–60 seconds longer.
No piping bag? No problem: Use a large spoon to dollop the mousse or transfer it to a zip-top bag, seal, snip a 1–2 cm corner, and squeeze to pipe. For tidy swirls use a large round or star nozzle if you have one.
Keep cookies crisp: Add the whole cookie gravestones and any piped gel details just before serving so the cookies don’t soften from the mousse’s moisture.
Chocolate choice: Semi-sweet or dark chocolate works well for rich flavor; milk chocolate creates a milder, sweeter mousse—choose based on your guests’ preferences.
Save This Recipe
More Halloween recipes
Frequently Asked Questions
Ready to spooky-fy your dessert table?
This Halloween Chocolate Mousse Cups recipe gives you show-stopping dessert without fuss—silky mousse, crunchy crumbs, and instant gravestone drama with black pastry gel.
Assemble most of the mousse ahead, then finish with crumbs and gravestones at the last minute for the best texture and presentation.
Halloween Chocolate Mousse Cups
Equipment
- mixing bowl
- Electric Mixer
- spatula
- piping bag
- serving glasses
Ingredients
- 400 g melted chocolate
- 300 g heavy cream
- crumbled chocolate cookies
- whole cookies for decoration
- black pastry gel
Instructions
- Beat the heavy cream at medium-high speed in a mixing bowl until it forms whipped cream, then transfer it to another bowl.
- Let the melted chocolate cool slightly, then gently fold it into the whipped cream with a spatula until fully combined.
- Transfer the mousse into a piping bag and fill serving glasses.
- Top each glass with crushed cookies, decorate a whole cookie as a ‘gravestone’ using black pastry gel, and insert it into the mousse.