
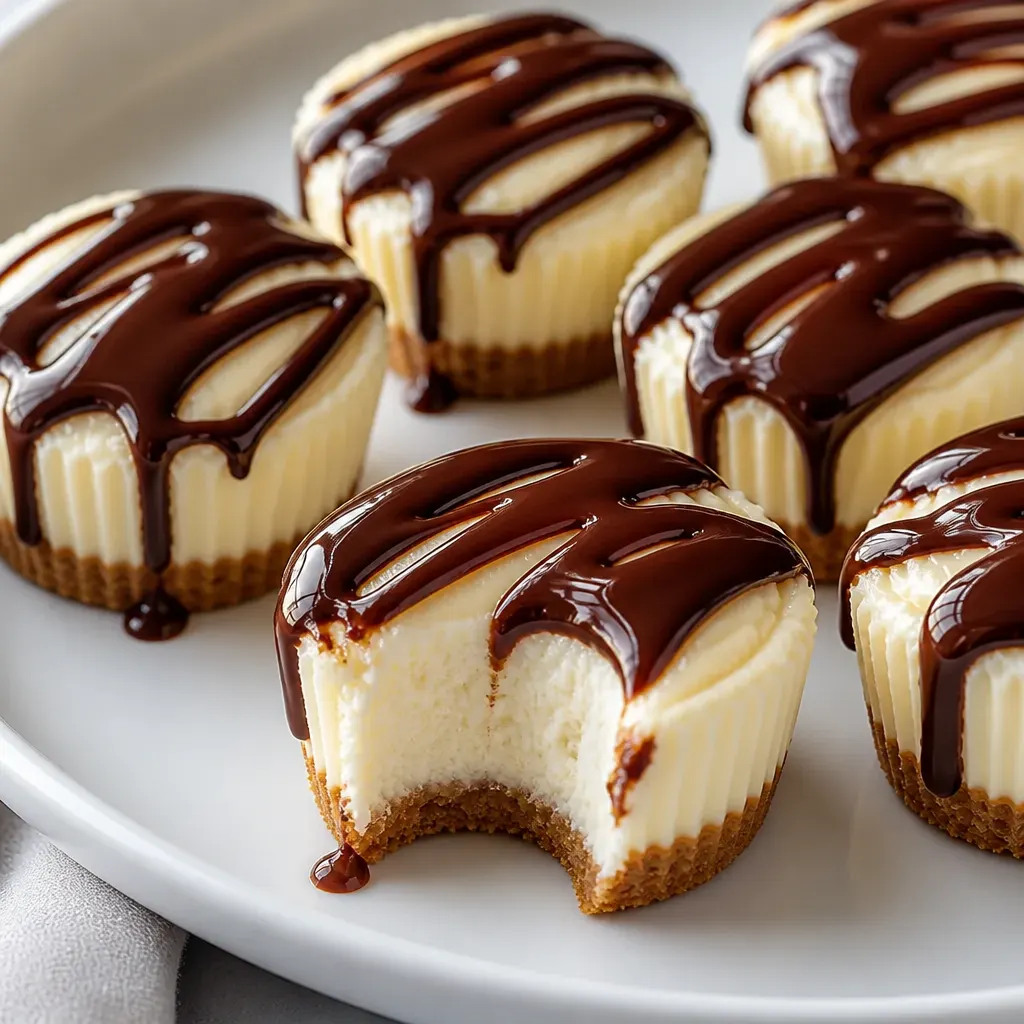
Crunchy, sweet waffle-cone crumb forms a delicate crust under a smooth, tangy cheesecake filling — each mini is creamy in the center with a crisp base that’s perfect to pick up and eat by hand.
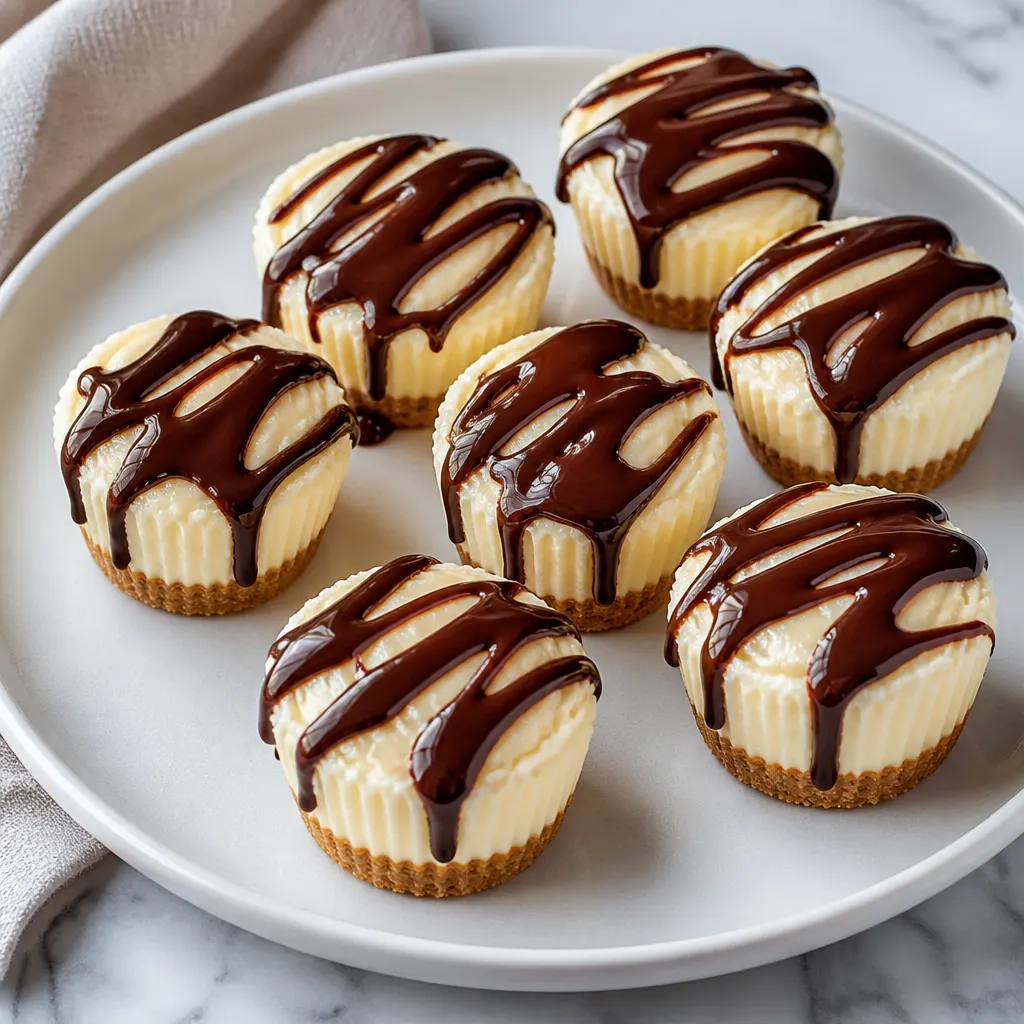
These minis bake quickly (about 15 minutes in a 325 degrees F oven), chill well, and make a perfect party platter or make-ahead treat — the recipe yields 24 mini cheesecakes or 12 slightly larger mini cheesecake cups.
Why You’ll Love This Recipe
These Waffle Cone Cheesecake Minis combine the familiar crunch and sweetness of waffle-cone crumbs with a classic, lightly tangy cheesecake filling. They’re fast to make, easy to transport, and easy to dress up for parties.
If you like small-format cheesecakes, check out Vanilla Bean Cheesecake Shooters for another handheld option with a different presentation.
Ingredients You’ll Need
How to Make Waffle Cone Cheesecake Minis
- Preheat your oven to 325 degrees F. Gather equipment: mini muffin pan (or mini cheesecake cups), paper liners (if using a muffin pan), a mixing bowl, and an electric mixer.
- Make the crust: combine 1/2 cup waffle cone crumbs, 1 1/2 TBSP sugar, and 2 Tbsp melted butter in a small bowl. Mix until crumbs are evenly moistened, then press the mixture firmly into the bottom of 24 mini muffin cups lined with paper liners, or into the bottoms of 12 mini cheesecake cups to make slightly larger minis.
- Make the filling: in a mixing bowl, beat 1-1/2 pkg. 8 oz. each Cream Cheese (12 oz.), softened, with 1/2 cup granulated sugar using an electric mixer until smooth and well blended. Add 1 egg and stir just until combined — avoid overmixing to keep the filling silky.
- Fill and bake: spoon the batter over the pressed waffle-cone crusts, filling each cup nearly to the top. Bake for approximately 15 minutes or until the centers of the cheesecakes are almost set (they should still jiggle slightly in the very center when you gently shake the pan).
- Cool and chill: remove the minis from the oven and let them cool to room temperature; then refrigerate until fully chilled. This helps the filling finish setting and prevents cracks. Store refrigerated and add any warm toppings like hot fudge just before serving to keep crusts crisp.
Pressing the Waffle Crust
Press the crumb mixture firmly so the crust holds together after baking and chilling. The right pressure creates a compact base that won’t fall apart when you pick up a mini cheesecake.
- Use the bottom of a small measuring spoon or a shot glass to press crumbs evenly.
- Fill each cup with roughly the same amount of crumb so minis bake consistently.
- Press to about 1/8–1/4 inch thickness for a crisp, balanced crust-to-filling ratio.
Prevent Cracks in Minis
Mini cheesecakes are less likely to crack than full-size, but quick temperature changes and overbaking still cause fissures. Use the ‘almost set’ cue and cool gently to minimize cracking.
- Avoid high oven temperatures; bake at the recipe’s 325 degrees F.
- Do not overmix the filling — incorporate ingredients until just combined.
- Cool to room temperature before refrigerating to reduce sudden contraction.
Best Toppings
These minis are versatile — top them just before serving so the crust stays crisp. Warm sauces, chopped candy, or sprinkles keep them festive and portable.
- Hot fudge or warm fruit compote spooned on at serving time (optional).
- Chopped nuts, mini chocolate chips, or crushed candy bars for texture.
- Fresh berries or a light dusting of powdered sugar for a brighter finish.
Tips for Success
Avoid overbeating the filling: Stop mixing as soon as the egg is incorporated — overwhipping adds air and increases the chance of cracking.
Use the doneness cue: Bake until the centers are almost set: only a small, soft jiggle in the middle should remain. This prevents overbaking and yields a creamy texture.
Pan and liner choice: Paper liners make removal and serving easy for the 24-mini yield; mini cheesecake cups are better for the 12 larger portions and eliminate liner tear.
Save This Recipe
More Recipes to Try
Frequently Asked Questions
Ready to Serve
Chill the minis thoroughly for the cleanest slices and best texture; add hot fudge or other toppings just before serving so crusts remain crisp.
These handheld cheesecake minis are an easy, crowd-pleasing make-ahead dessert for parties, potlucks, and holidays.
Waffle Cone Cheesecake Minis
Equipment
- Electric Mixer
- Mini Muffin Pan
- paper liners
- mini cheesecake cups
- mixing bowl
Ingredients
- 1/2 cup waffle cone crumbs
- 1 1/2 Tbsp sugar
- 2 Tbsp butter melted
- 1-1/2 pkg. cream cheese 8 oz. each (12 oz.), softened
- 1/2 cup granulated sugar
- 1 egg
- Hot Fudge Topping Optional
Instructions
- Heat oven to 325 degrees F.
- Combine 1/2 cup waffle cone crumbs, 1 1/2 TBSP sugar, and 2 Tbsp melted butter; press the mixture into the bottom of 24 mini muffin cups lined with paper liners or into the bottoms of 12 mini cheesecake cups.
- In a bowl, beat cream cheese and 1/2 cup granulated sugar with an electric mixer until well blended; add 1 egg and stir until just combined. Spoon the batter over the waffle cone crusts in the pans and bake for approximately 15 minutes or until the centers are almost set. Remove from oven, cool completely, and store refrigerated. If desired, top with hot fudge sauce when serving.