
Crisp cookie rounds get turned upside down, topped with a chocolate Hershey’s Kiss and finished with a bright ribbon of piped frosting for a crunchy, festive bite with a glossy pop of color.
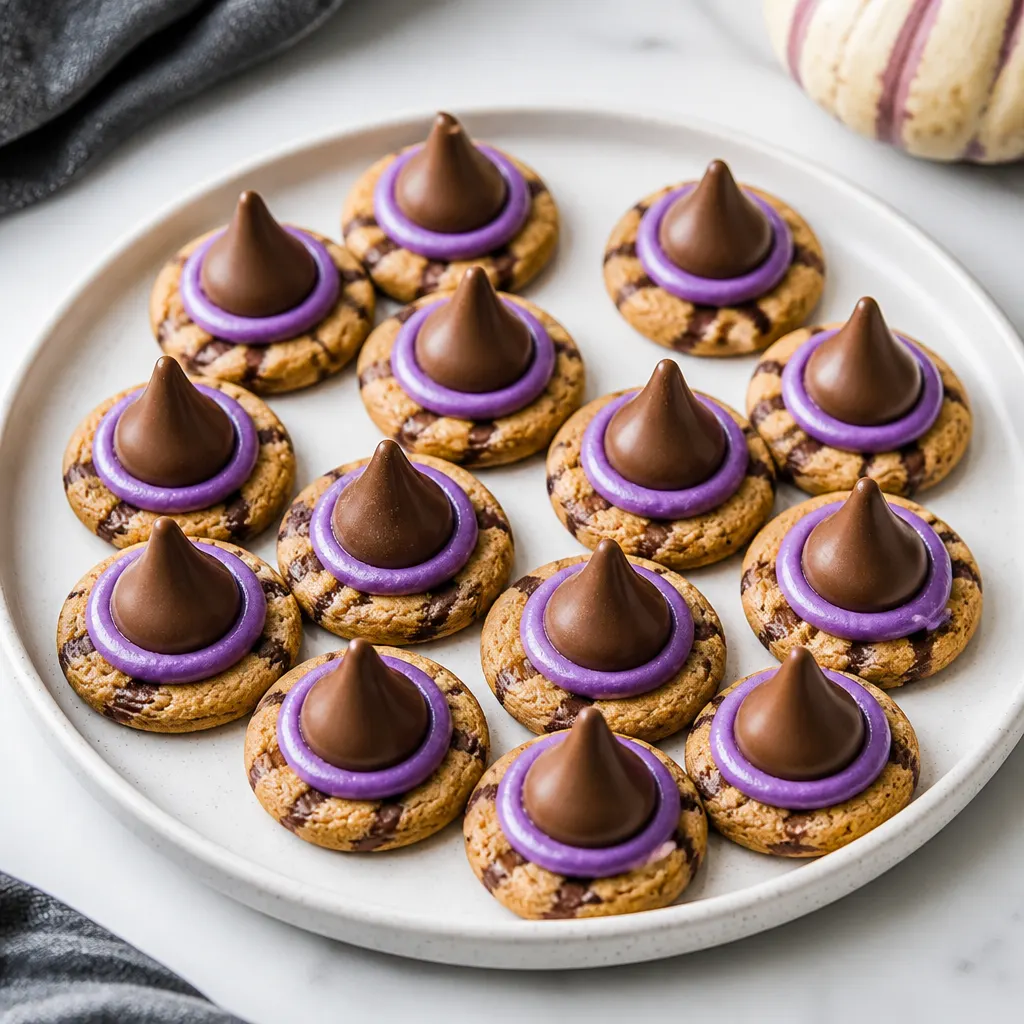
These no-bake Witches Hat Cookies take about 20 minutes to assemble and make 32 bite-sized treats — perfect for a Halloween party, classroom activity, or easy last-minute platter that stores in an airtight container for up to a week.
Why You’ll Love This Recipe
Minimal ingredients, no oven, and terrific kid appeal — the hat shape is instantly recognizable and fun to decorate. If you want the same look on cupcakes instead, try the Witch Hat Cupcakes for a fuss-free variation.
Crunchy, chocolatey, and customizable — an easy seasonal treat you can make with pantry staples.
Ingredients You’ll Need
How to Make Witches Hat Cookies
- Turn the cookies upside down on a cookie sheet so each cookie has a flat top to receive the kiss.
- Unwrap all Hershey’s Kisses. Using your icing, pipe a small dot onto the flat bottom of each Kiss.
- Press each frosted Kiss onto the center of an upside-down cookie so it sticks firmly.
- Pipe a ribbon of frosting around the base of each Kiss to form the hat band; add sprinkles or other small decorations if desired.
- Chill the assembled cookies until the frosting is set so the kisses stay in place before plating or packing.
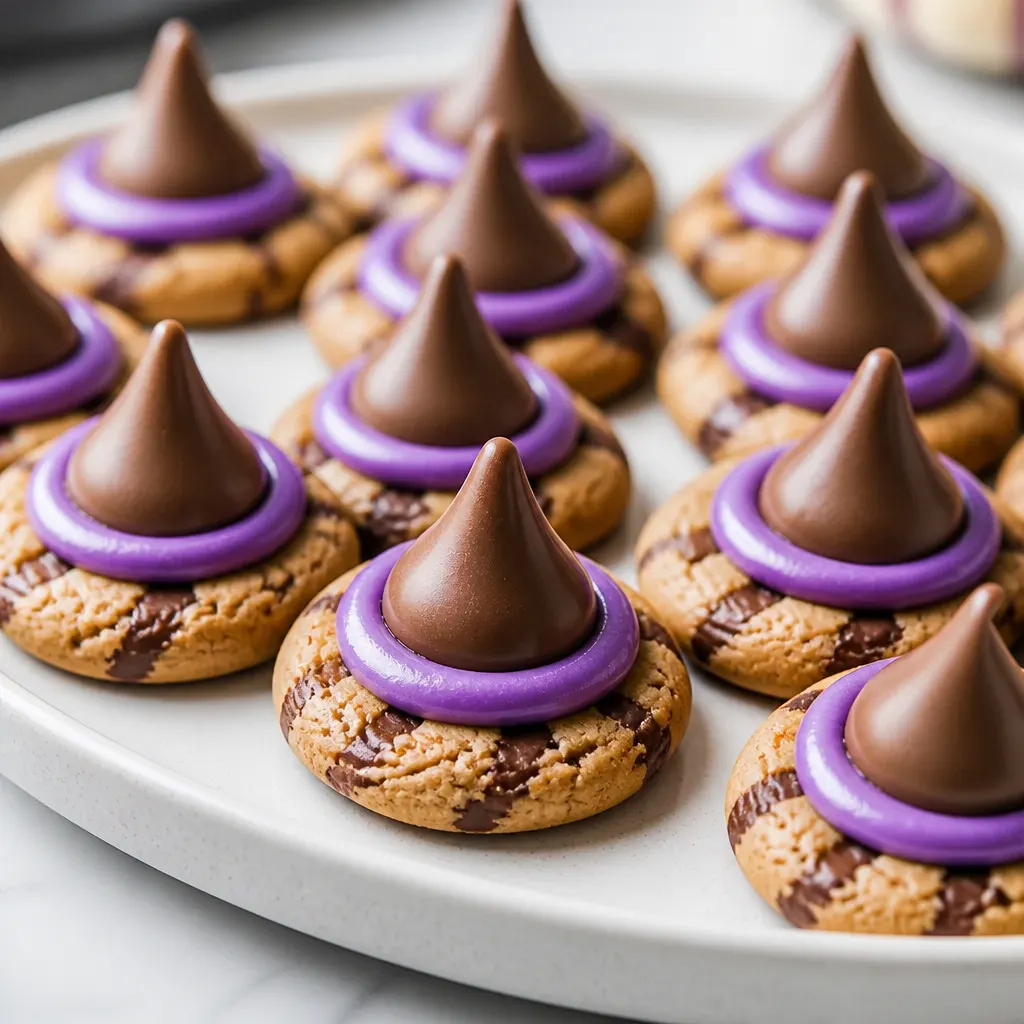
Quick Decorating Variations
Small changes make these cookies feel brand-new. Swap the cookie base, change frosting colors, or add themed sprinkles for easy variety.
- Oreo swap: use Oreos instead of Fudge Stripe Cookies for a darker, sturdier base.
- Color pop: use orange, purple, or black frosting for classic Halloween colors.
- Sparkle: add star or Halloween-shaped sprinkles on the frosting band for extra charm.
Piping and Assembly Tips
You don’t need a pastry bag or tip to make tidy bands—control and consistency matter more than fancy tools.
- Zip-top bag: fill and snip a 1/8″ corner for a small, steady ribbon of frosting.
- Pre-filled tubes: press lightly and move steadily for even bands.
- Press gently: pipe a small dot of frosting on the bottom of each Kiss to act as glue before placing it on the cookie.
- Chill until set: refrigerate the tray so the frosting firms and the Kisses stay upright during serving.
Make-Ahead and Storage
These cookies assemble quickly and hold up well, which makes them a good make-ahead treat for parties or school events.
- Store in an airtight container at room temperature for up to a week—place in single layers or separate layers with parchment.
- Avoid stacking while frosting is still tacky; chill first to set the decorations.
- For longer prep, flash-assemble (attach Kisses but skip piping) and finish decorations the day of the event.
Tips for Success
Frosting alternatives: If you don’t have a piping bag, fill a small zip-top bag, snip a tiny corner, and squeeze to pipe. Store-bought icing tubes also work for quick decorating.
Work in batches: Line up cookies and kisses and work assembly-line style—pipe, press, then pipe the ribbon—to speed the process and keep shapes consistent.
Chill to set: Pop the finished tray into the fridge for 10–15 minutes to firm the frosting so decorations don’t slide during transport.
Kid helpers: Give children frosting choices and small bowls of sprinkles to personalize hats—supervised pressing of the Kiss keeps fingers safe and tidy.
Save This Recipe

More Halloween Treats
Frequently Asked Questions
Ready to Make a Batch?
These Witches Hat Cookies are a quick, crowd-pleasing no-bake option that’s easy to scale up for parties or classroom treats.
With a few color and cookie swaps you can match any Halloween theme — have fun decorating and keep a container handy for last-minute guests.
Witches Hat Cookies
Ingredients
- 1 package Fudge Stripe Cookies or Oreos
- 32 Hershey’s Kisses
- Red icing or any color
Instructions
- Turn the cookies upside down on a cookie sheet.
- Unwrap the Hershey’s kisses. Pipe a small amount of red icing onto the flat bottom of each kiss and press each kiss onto the center of an upside-down cookie.
- Pipe a ribbon of icing from the base of each kiss to form the hat band; add sprinkles if desired.
- Chill the assembled cookies until the frosting is set.