
This Oreo icebox cake stacks whole chocolate sandwich cookies with billowy vanilla whipped cream for a contrast of creamy softness and crisp cookie crunch — finished with a scattering of crushed Oreos on top.
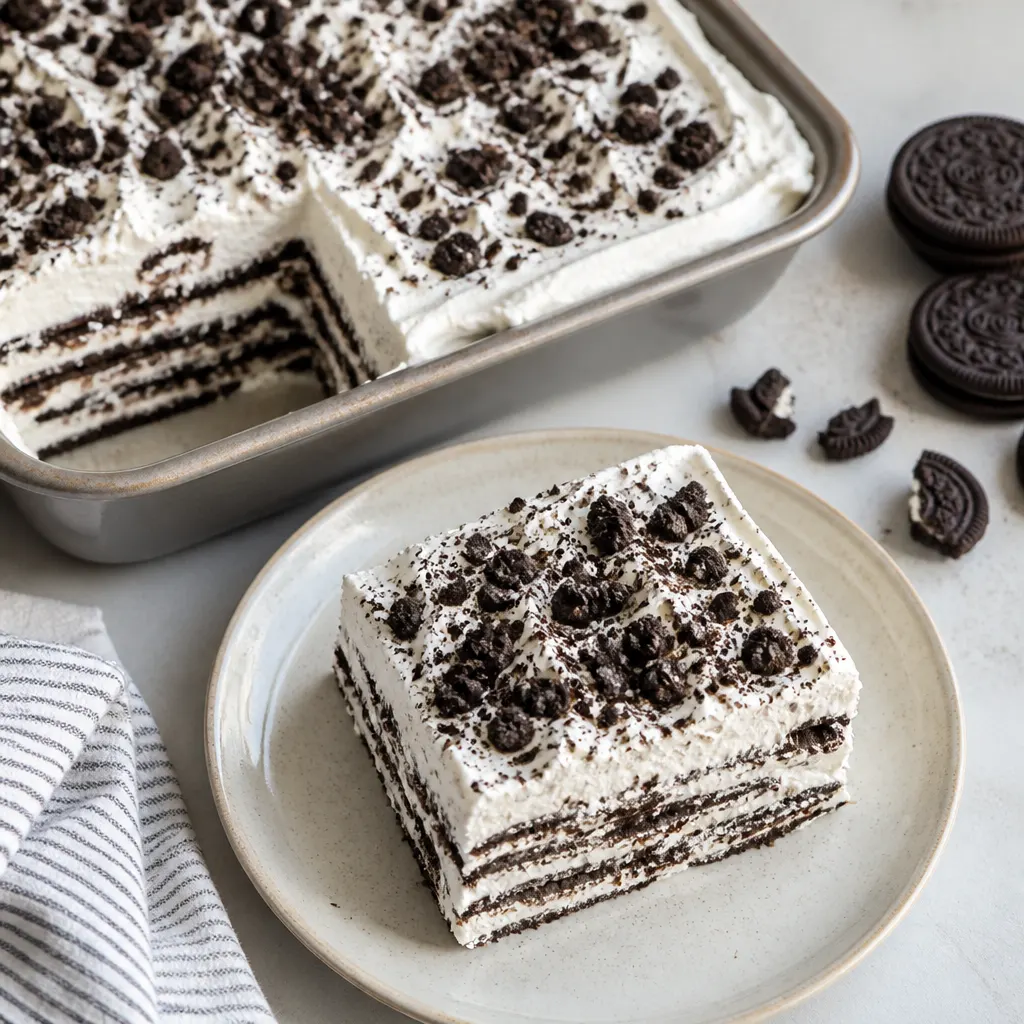
It comes together in about 15 minutes of hands‑on time and needs to chill at least 4 hours (preferably overnight), making it a perfect make‑ahead dessert for parties, potlucks, or warm‑weather entertaining.
Why You’ll Love This Recipe
A no‑bake, crowd‑friendly dessert that’s easy to customize, stores well, and feels special without fuss.
The WPRM recipe card has the exact ingredient amounts and required equipment (8‑inch square pan; electric hand mixer or stand mixer) so you can jump straight to the recipe.
Ingredients You’ll Need
How to Make Oreo Icebox Cake
- Combine 2 cups (480ml) heavy whipping cream, 2 tablespoons powdered sugar, and 1 teaspoon pure vanilla extract in the bowl of a stand mixer or a large bowl. Beat with a stand mixer or electric hand mixer until the cream is thick and creamy with soft peaks; be careful not to overwhip.
- Arrange a single layer of the 32 regular whole Oreo cookies in the bottom of an 8-inch square pan so the cookies fit snugly without large gaps.
- Spread half of the whipped cream evenly over the Oreo layer and smooth with an offset spatula or the back of a spoon.
- Add a second single layer of whole Oreo cookies on top of the whipped cream, then dollop and spread the remaining whipped cream to cover the second layer smoothly.
- Sprinkle the 3 crushed Oreo cookies evenly over the top, cover the pan tightly with plastic wrap, and refrigerate for at least 240 minutes or preferably overnight to let the cookies soften and the layers set.
- For clean slices, transfer the chilled cake to the freezer for 30 minutes before slicing; then slice into portions and serve.
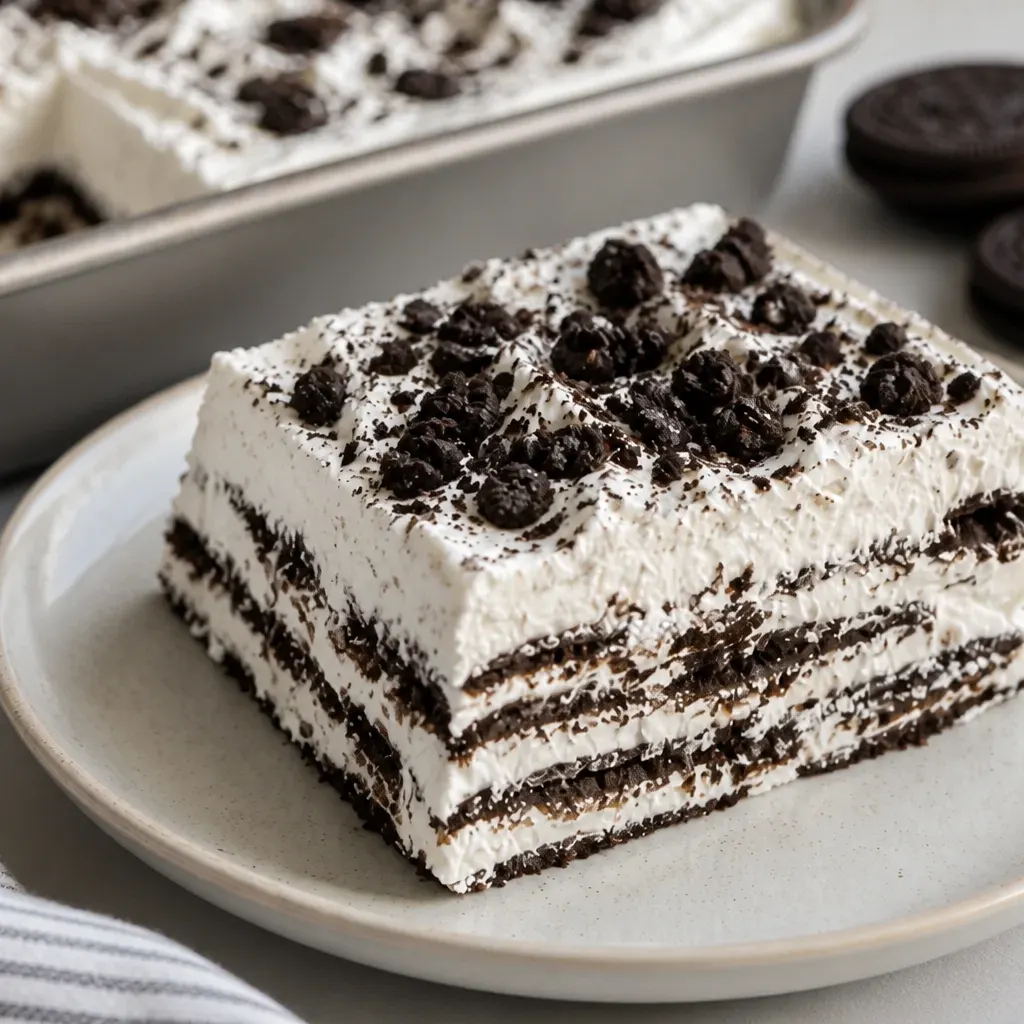
Choose Your Oreos
This recipe works with any sandwich cookie flavor — original, chocolate‑peanut butter, birthday cake, or limited‑edition varieties. The choice of cookie changes the cake’s flavor profile without altering the method.
- Double‑stuff Oreos create a slightly creamier texture between layers.
- Flavored Oreos add an instant twist without extra steps.
- For a uniform look, choose cookies that are all the same size and shape.
Get Clean Slices
For neat, photo‑ready slices, freeze the fully chilled cake for 30 minutes before slicing. The brief freeze firms the cream but doesn’t make the cake icy.
- Use a sharp, thin knife and wipe it clean between cuts.
- Run the knife under hot water and dry it quickly for super‑smooth edges.
- Chill for longer if you’re slicing very thin portions.
Make It Gluten‑Free
Swap in a gluten‑free version of chocolate sandwich cookies to make the entire dessert gluten‑free while keeping the same texture and assembly.
- Confirm the whipped cream ingredients are gluten‑free (pure heavy cream and vanilla generally are).
- Taste a test cookie first to be sure the gluten‑free flavor pairs well with the whipped cream.
Tips for Success
Whip to soft peaks: Stop whipping when the cream forms soft peaks — it should hold shape but still be glossy. If you overwhip it becomes grainy and can separate.
Keep the cookies whole: Place the Oreos in single, un‑twisted layers so they hold their shape in the cake and give a crisp snap between creamy layers.
Chill time matters: Refrigerate at least 4 hours (240 minutes) or ideally overnight so the cookies soften evenly and the cake slices cleanly after a brief freeze.
Pan and equipment: Use the 8‑inch square pan called for in the recipe card and an electric hand mixer or stand mixer to get the easiest, most consistent whipped cream.
Save This Recipe

Frequently Asked Questions
Ready to Serve
Slice the chilled cake after the 30‑minute freeze and serve immediately so the contrast between crisp cookie and creamy filling is at its best.
This easy, no‑bake dessert is ideal for feeding a crowd — just double the recipe and use a larger pan when you need to.
Oreo Icebox Cake
Equipment
- 8-inch square pan
- Electric Hand mixer or Stand mixer
Ingredients
- 2 cups heavy whipping cream 480 ml
- 2 tablespoons powdered sugar
- 1 teaspoon pure vanilla extract
- 32 cookies Oreo regular whole, from a one 13.3 ounce (377 g) package
- 3 cookies Oreo crushed
Instructions
- Combine 2 cups (480ml) heavy whipping cream, 2 tablespoons powdered sugar, and 1 teaspoon pure vanilla extract in the bowl of a stand mixer or in a large bowl and beat with a stand mixer or electric hand mixer until the cream is thick and creamy with soft peaks; be careful not to overwhip.
- Arrange a single layer of the 32 regular whole Oreo cookies in the bottom of an 8-inch square pan. Spread half of the whipped cream over the cookies and smooth with a spatula.
- Add a second single layer of whole Oreo cookies, top with the remaining whipped cream, and smooth the top.
- Sprinkle the 3 crushed Oreo cookies over the top, cover the pan tightly with plastic wrap, and refrigerate for at least 240 minutes or preferably overnight to set.
- For clean slices, transfer the chilled cake to the freezer for 30 minutes before slicing.