
These vegan rice crispy treats are chewy with a light crunch from brown rice crisp cereal and little pops of color from vegan sprinkles. Melted vegan butter and Dandies-style marshmallows create a glossy, sticky binder that coats each puff for the classic soft-but-slightly-crisp bite.
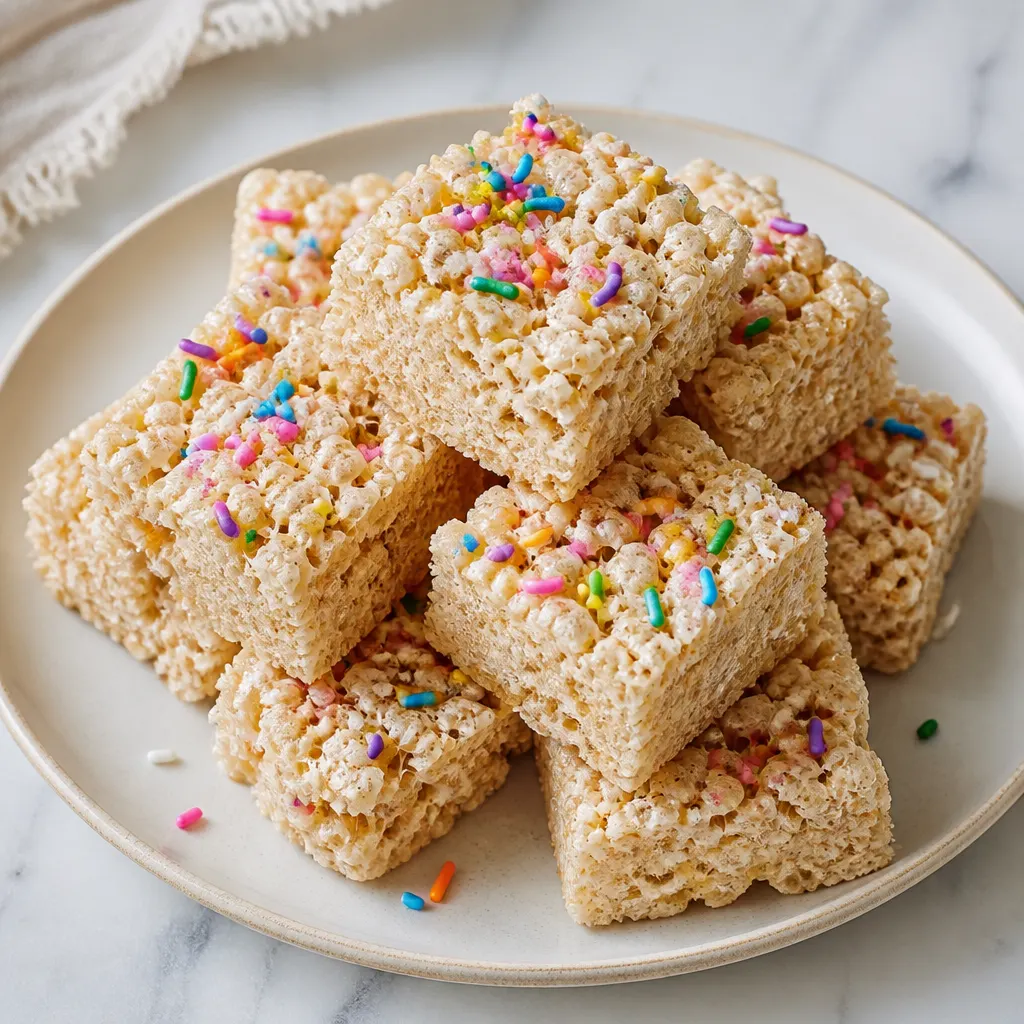
They’re no-bake and come together in about 12 minutes of active time, then chill for roughly 1 hour. Make them for parties, lunchboxes, or an after-school snack—slice into bars once set and serve at room temperature or slightly chilled.
Why You’ll Love This Recipe
No-bake, kid-friendly, and done in about 12 minutes active time, these vegan rice crispy treats hit the perfect chewy vs. crisp balance and are easy to customize for parties or lunchboxes.
Want a colorful variation for a party or kid’s table? Try a fruity cereal twist like our Fruity Pebble Treats for a brighter, crunchier bar.
Ingredients You’ll Need
How to Make Vegan Rice Crispy Treats
- Line a 9×9-inch baking dish with parchment paper (use a smaller pan if you prefer thicker treats). Set near the stove so you can work quickly once the marshmallows are melted.
- Melt the vegan butter in a large pot or Dutch oven over medium heat. Watch carefully so the butter doesn’t brown.
- Add the vegan marshmallows and cook, stirring often, until the marshmallows are melted and the mixture is smooth and stirrable, about 5–6 minutes; remove the pan from the heat immediately once smooth to avoid overcooking.
- Stir in 1 tbsp non-dairy milk (or water), 1 tsp vanilla extract, and 1/4 tsp almond extract until fully combined and glossy.
- Add 4 1/2 cups brown rice crisp cereal and 2 tablespoons of the sprinkles; fold gently but thoroughly until every piece is evenly coated in the marshmallow mixture.
- Transfer the coated cereal to the prepared baking dish. Cover your palm with a small piece of parchment paper and firmly press the mixture into an even layer. Sprinkle the remaining sprinkles over the surface and press them lightly into the treats using the parchment paper.
- Cool the rice crispies at room temperature or in the refrigerator for about 1 hour, or until firm, before slicing. For quicker, cleaner slicing, refrigerate for 15–20 minutes to set before cutting with a sharp knife.
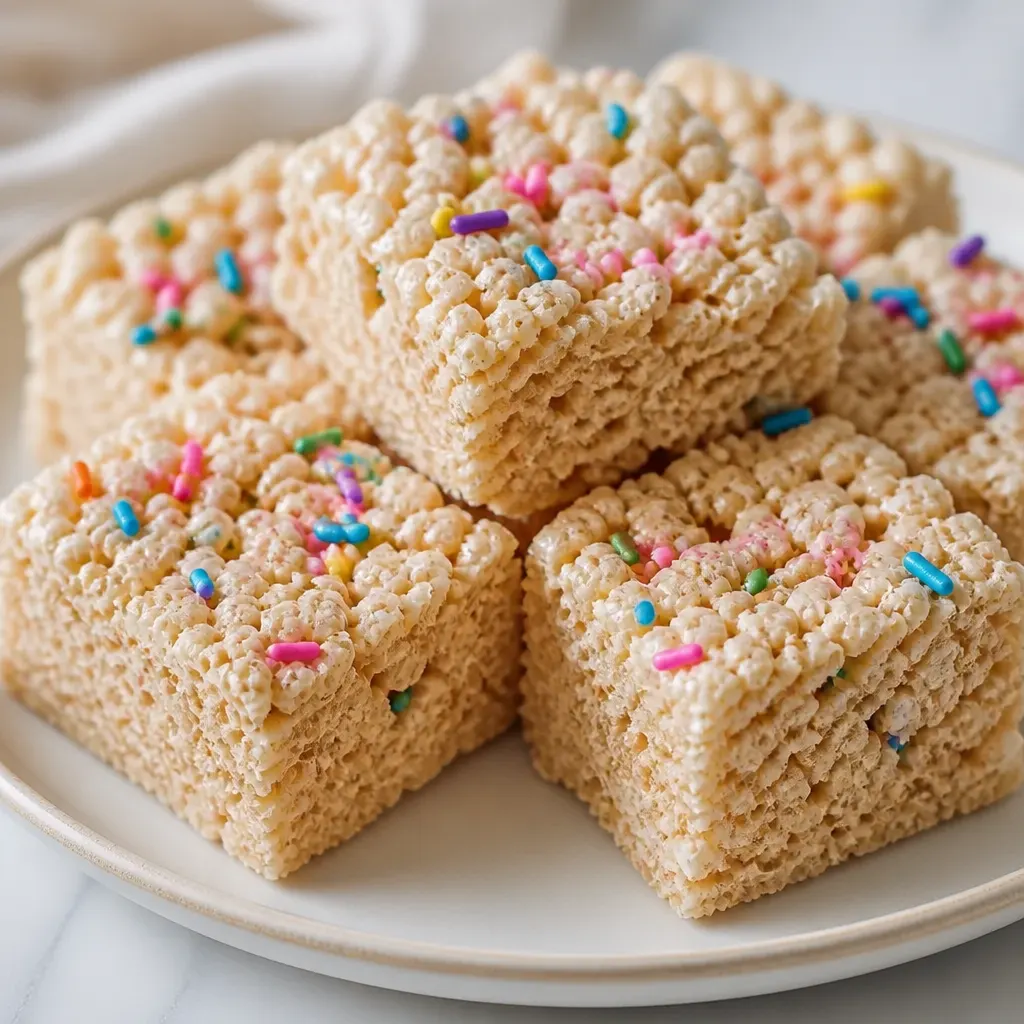
Get the Texture Right
Texture is the key to a perfect rice crispy treat: chewy interior with a touch of snap from the cereal. The cereal-to-marshmallow ratio controls that balance.
- Use 4 1/2 cups brown rice crisp cereal for the standard chewy-with-crisp result.
- Use 3 1/2 cups cereal if you want an extra-gooey, marshmallow-forward bar.
- Avoid overheating the marshmallow mixture—melt until smooth, then remove from heat to keep a soft finished texture.
Press for Clean Bars
Firm, even pressing makes bars hold together and gives clean edges. The parchment-on-palm trick protects your hand and lets you apply even pressure.
- Cover your palm with parchment paper when pressing the mixture into the pan to prevent sticking and to press evenly.
- Press with steady, firm pressure to eliminate air pockets and make compact bars.
- If you need cleaner slices, refrigerate the pan for 15–20 minutes before cutting; this firms them up without losing chew.
Cereal & Sprinkle Swaps
These bars are forgiving—swap cereals and sprinkles to match dietary needs or themes without changing the method.
- Swap brown rice crisps for a gluten-free puffed rice brand if needed—check labels for gluten-free certification.
- Try Fruity Pebbles or another flavored cereal for an extra-sweet, colorful bar (adjust cereal amount toward 3 1/2 cups for a gooier result).
- Use vegan-friendly sprinkles or finely chopped dried fruit for color; avoid non-vegan sprinkles that contain confectioner’s glaze.
Tips for Success
Chewy vs. Gooey: For extra gooey bars use 3 1/2 cups puffed rice instead of 4 1/2 cups; leaving more cereal out keeps the ratio of marshmallow higher and the interior softer.
Don’t Overcook: Melt the butter and marshmallows just until smooth—overcooking will make the mixture firm up too hard as it cools.
Press Firmly: Use a piece of parchment over your hand to press firmly and evenly—this compacts the bars and prevents large air pockets.
Clean Slices: For neat edges chill 15–20 minutes before slicing and cut with a sharp knife wiped between cuts.
Save This Recipe
More Recipes
Frequently Asked Questions
Final Thoughts
These vegan rice crispy treats are an easy, crowd-pleasing no-bake option—simple to scale up for parties or bake sales and flexible for swaps and decorations.
Make them a day ahead for parties or pack a couple in lunchboxes; they travel well and are kid-friendly and customizable.
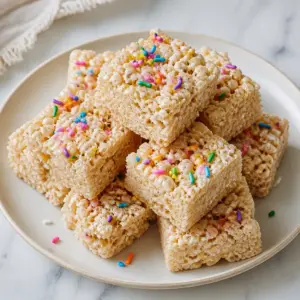
Vegan Rice Crispy Treats
Ingredients
- 5 tbsp vegan butter such as Earth Balance
- 110 10 oz bag vegan marshmallows Dandies brand
- 1 tbsp non-dairy milk or water
- 1 tsp vanilla extract
- 1/4 tsp almond extract
- 4 1/2 cups brown rice crisp cereal
- 1/4 cup vegan sprinkles
Instructions
- Line a 9×9-inch baking dish with parchment paper (use a smaller pan if you prefer thicker treats).
- Melt the 5 tbsp vegan butter in a large pot or Dutch oven over medium heat.
- Add the vegan marshmallows and cook, stirring often, until the marshmallows are melted and the mixture is smooth and stirrable, about 5–6 minutes; remove the pan from the heat.
- Stir in 1 tbsp non-dairy milk (or water), 1 tsp vanilla extract, and 1/4 tsp almond extract until combined.
- Add 4 1/2 cups brown rice crisp cereal and 2 tablespoons of the 1/4 cup vegan sprinkles; stir until the cereal is evenly coated with the marshmallow mixture.
- Transfer the mixture to the prepared baking dish, cover your palm with a small piece of parchment paper, and firmly press the crispies into an even layer. Sprinkle the remaining sprinkles over the surface and press them lightly into the treats using the parchment paper.
- Cool the rice crispies at room temperature or in the refrigerator for about 1 hour, or until firm, before slicing.