
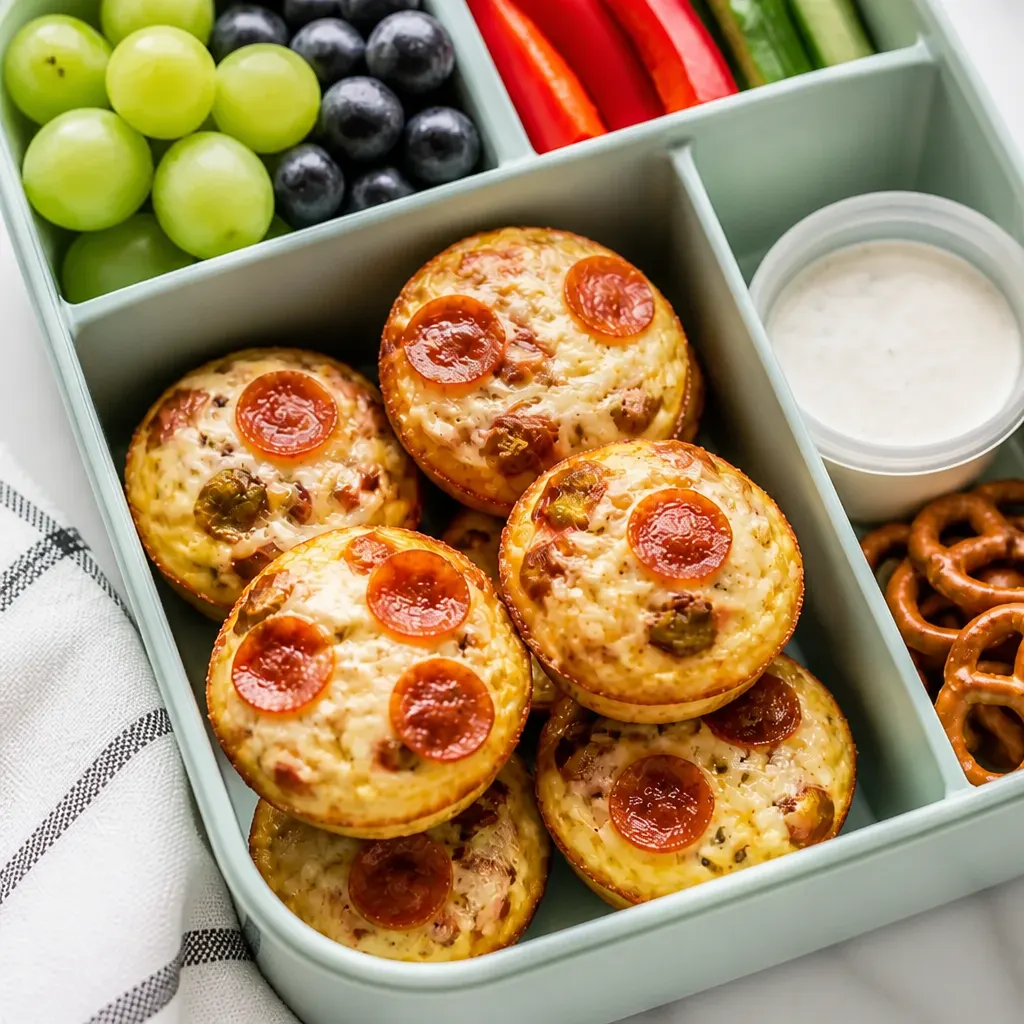
These pepperoni pizza egg cups are fluffy, cheesy, and studded with pizza toppings and melted mozzarella for a pizza-flavored bite that holds up in a lunchbox.
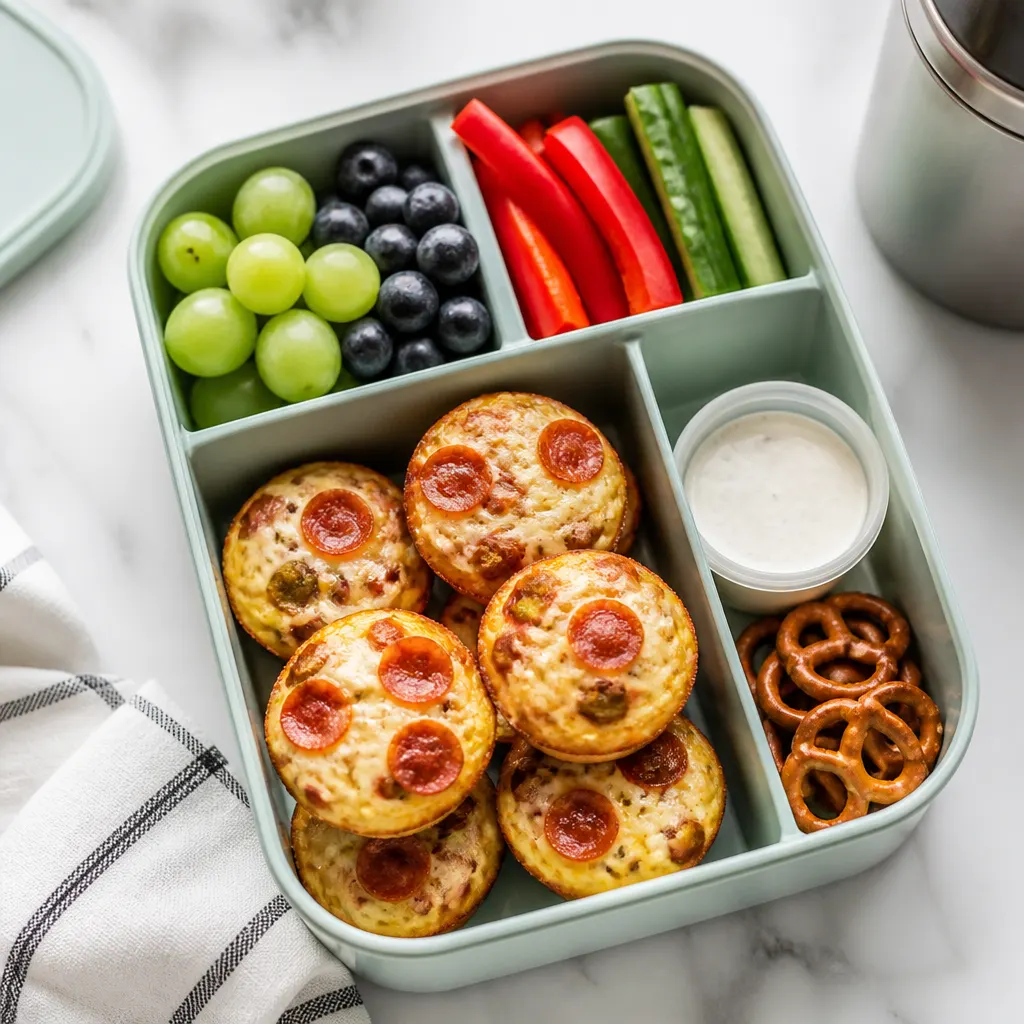
They take about 23 minutes from start to finish and are perfect for make-ahead lunchboxes or grab-and-go snacks — pack 4 to 6 egg cups per meal with fruit, veggies, and an ice pack or thermos.
Why You’ll Love This Recipe
Little pizza-flavored egg cups give you all the familiar flavors of pizza in a protein-packed, portable snack. They’re kid-friendly, customizable, and easy to bake in batches.
Use the recipe card above for exact ingredient amounts and follow the bake-time note carefully depending on your pan size.
Ingredients You’ll Need
How to Make the Egg Cups
- Preheat the oven to 350F and grease 24-count mini muffin pan.See the note below regarding cooking time if using a regular muffin pan.
- In a large bowl, whisk eggs and milk. Add in chopped pizza toppings and shredded cheese. Mix to combine all ingredients.
- Distribute the egg mixture evenly into the muffin pan cups, filling them about ¾ of the way up.
- Bake in the preheated oven for 15-18 minutes. Remove the pan from the oven and let them cool in the pan before carefully removing them with a small knife or small spatula.
- Once cooled, refrigerate the egg cups in an airtight container or zip bag for up to 3 days.
- To enjoy these at room temperature,place 4 to 6 egg cups inside the main compartment of a lunch container.
- To eat warm,heat the egg cups in the microwave for 1 minute, stopping the microwave half way through to flip them over. Immediately transfer them inside a thermos container and close the lid.
- Finish packing this snack box by adding fruit, veggies, and any other sides inside a bento. Pack everything inside a lunch bag.
Mini vs Regular Pan
A 24-count mini muffin pan produces 24 bite-sized egg cups that bake faster and are ideal for lunchboxes; aim for about 16–18 minutes as a target bake time for those small cups (the recipe’s oven step references 15–18 minutes). If you use a regular 12-count muffin pan, count on roughly 26–28 minutes and test for doneness by checking that the centers are set.
For a fresh lunchbox side, try adding a crisp salad to balance the egg cups: My Everyday Chopped Salad Recipe.
- 24-count mini pan → faster bake, bite-sized portions (about 16–18 minutes).
- 12-count regular pan → larger cups, longer bake (about 26–28 minutes).
- Test doneness: edges should be set and centers slightly springy.
Thermos Reheating Tips
If you want warm egg cups at lunchtime, brief microwave heating plus an insulated thermos gives the best result: heat on high for 1 minute, stopping halfway to flip, then transfer immediately into a pre-warmed thermos and close the lid.
Pre-warm the thermos with hot water while you heat the egg cups to help keep them warm longer.
- Microwave 1 minute total, flip halfway through for even heating.
- Transfer immediately to a pre-warmed thermos and seal.
- Use the thermos for a few hours—don’t leave hot food at unsafe temperatures for long periods.
Best Topping Swaps
Swap toppings easily to make these vegetarian or higher-protein. Keep toppings finely chopped so they distribute through each egg cup and release easily from the pan.
- Vegetarian: diced bell peppers, mushrooms, spinach (squeeze excess moisture from mushrooms/spinach).
- Protein swaps: turkey pepperoni, cooked crumbled sausage, diced cooked chicken.
- Extra-cheesy: increase shredded mozzarella or add a sprinkle of Parmesan on top before baking.
Tips for Success
Pan choice and bake time: A 24-count mini pan yields 24 egg cups. Expect about 16–18 minutes for a 24-count mini pan (the recipe’s bake instruction lists 15–18); a regular 12-count pan will need roughly 26–28 minutes—watch for set edges and a slightly springy center.
Chop toppings small: Chop pepperoni and other toppings into small, uniform pieces so they disperse evenly and the cups release cleanly from the pan.
Pack smart: Pack 4 to 6 egg cups per lunch container. Add an ice pack for room-temperature storage or a thermos if you want them warm at lunchtime.
Nonstick release: Grease the pan well or use a silicone mini muffin pan to make removing the cups easier without tearing.
Save This Recipe

More Recipes to Pack
Quick Questions
Ready to Pack
These mini pepperoni pizza egg cups are a fast, customizable way to add protein and flavor to lunchboxes — remember the pan-size bake times and pack 4 to 6 cups per container with fruit and veggies for balance.
Make a batch ahead, stash them in the fridge for up to 3 days, and mix and match sides for simple, satisfying lunches.
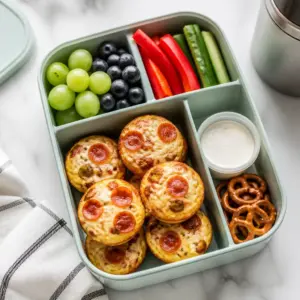
Pepperoni Pizza Egg Cups Snack Box
Equipment
- Equipment
- 101 Packed Lunches
- Mini Muffin Pan
- Kids Lunch Box
- Thermos
- Freezable Lunch Bag
- Dips or Dressings
- 1
- ice pack
Ingredients
- 6 eggs
- 3 tablespoons milk
- 1 cup your choice of pizza toppings chopped
- 1 cup mozzarella shredded
- 4-6 egg cups
- Fruit & veggies
- Sides of your choice
Instructions
- Preheat the oven to 350F and grease a 24-count mini muffin pan; if using a regular 12-count muffin pan, increase baking time as noted.
- In a large bowl whisk 6 eggs and 3 tablespoons milk until combined, then stir in 1 cup chopped pizza toppings and 1 cup shredded mozzarella.
- Divide the egg mixture evenly among the muffin cups, filling each about 3/4 of the way up.
- Bake in the preheated oven for 15-18 minutes. Remove the pan from the oven and let the egg cups cool in the pan before carefully loosening them with a small knife or small spatula.
- Once cooled, refrigerate the egg cups in an airtight container or zip bag for up to 3 days.
- For room-temperature snacks, place 4 to 6 egg cups in the main compartment of a lunch container.
- To serve warm, heat the egg cups in the microwave for 1 minute, stopping halfway to flip them, then transfer immediately into a thermos and close the lid.
- Finish packing the snack box by adding fruit, veggies, and any other sides into a bento or lunch bag.